Unless you’ve been living under a rock, you’re probably well aware that Microsoft has released Windows 8: successor to Windows 7, and father of a new generation of Windows. I recently got my copy, and have been quite impressed with the OS thus far. However, no matter how good Windows 8 is, it can’t make all of my old applications match the new UI in the Start Screen. Thankfully, there is already a way to fix that.
UPDATE: A new version of OblyTile has been released which handles image resizing for you. No longer do you need to worry about the exact dimensions of the large tile image, and no small tile image is required (although you can still make one if you’d like differing small and large tile images). The new OblyTile also features a tile manager which allows you to edit or remove existing tiles, a tile preview, and several other enhancements over the version written about in this post. This tutorial will certainly still work, but now it should be much easier for you! Freely skip steps where you are able whilst using the new version.
Despite only having low-res icons available to it, the new Start Screen does a pretty decent job with old apps that weren’t made with Metro in mind. Still, many of these icons could stand to get a facelift.
If you have some basic image editing skills, giving your favorite programs a Metro look is pretty simple.
The first step is to download a small utility called OblyTile. Click to download, and save the application wherever is convenient; no installation is necessary, and OblyTile can run from anywhere on your hard drive. It will create all of your tiles at “C:Program FilesOblyTile” though (not “Program Files (x86)”, for you 64-bit users), so I’d recommend creating the folder and putting the executable in there. Now it’s time to do some image editing.
UPDATE: Not so hot on image editing? There are tons of premade Metro tiles here (click!). Just download your tile of choice in the PNG 128×128 and PNG 32×32 varieties and continue the tutorial.
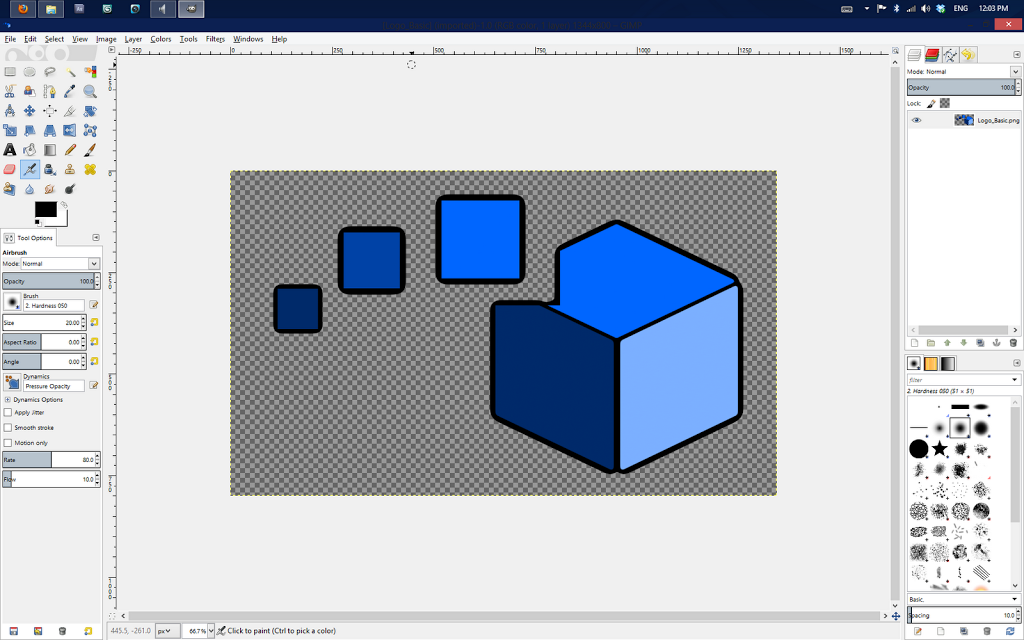
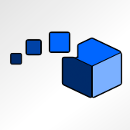
You can give virtually anything a Metro tile, including websites, so for this demonstration I’m going to make a nice ThinkBoxly tile. Obviously my images for the icon are going to be based on the ThinkBoxly logo, so here I have it opened up in GIMP (an open-source Photoshop alternative):
But the problem is, the image is much too large for a Metro tile. So what I need to do is scale it down and add a bit of excess and a background so that I’m left with a perfectly square 130×130 pixel image. Now I just need to export it somewhere as a PNG file (JPG, GIF, etc will not work).
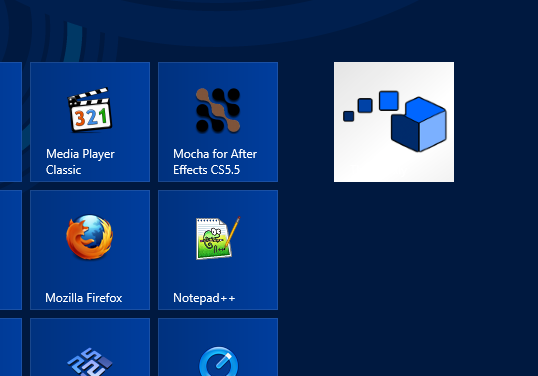
But wait! Don’t close down your image editor just yet. Windows 8 also needs a smaller 30×30 icon for the ‘All Applications’ menu. So all I need to do is scale down this icon to 30×30 and export it to a different PNG file. Here’s my result:
Now that we have our images ready, we can open up OblyTile and start filling in the necessary information. You will have to grant the program Administrative privileges.
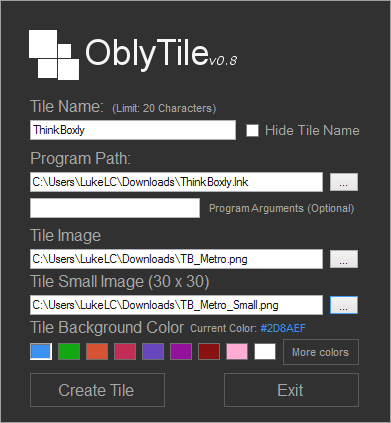
After giving your tile a name, first either type the location of the program or file you want the tile to link to, or browse for it using the “…” button on the right. In my case I’ve pointed OblyTile to a shortcut file linking to this blog.
The second blank in this category is where you’ll put tour command-line arguments, if any. If you don’t know what Program Arguments are, basically what you’ll have here is small pieces of code that define certain setting about a program at its launch. Most of the time you won’t need to fill anything in this blank, but it may be worth looking up program arguments for your app and seeing if anything useful is available. As an example, many fullscreen games can be run in a window by adding “-window” (without the quotes) to the arguments section.
Next, fill in the large and small “Tile Image” blanks with the PNG files you created earlier, and then select a background color that goes nicely with them. You may not see the background color on the main Start area, but it is used elsewhere, so don’t disregard this step!
Here’s what all of the information looks like filled into OblyTile:
Finally, you may hit “Create Tile”, and after a moment OblyTile will alert you that it is done. Now check your Start Screen…
This tile can be treated like any other, meaning to remove it you right click and choose ‘Unpin’, to find it you may run a global search, and so forth.
It would of course be nice if no image editing was required, but even so OblyTile is a great and simple solution if, like me, you want to spice up your old apps for the Metro UI. Hopefully this tutorial was able to help you accomplish that, and if there’s anything else you’d like to know how to do in Windows 8, leave a comment below and your request may be featured in an upcoming post!

